


Preparing for Your Installation: What to Expect
Trailblazer Broadband Installation Process
Our team is working hard to build out the infrastructure for Trailblazer Broadband. Here is everything you need to know about the installation process when it comes to providing our new high-speed internet service to your home or business.
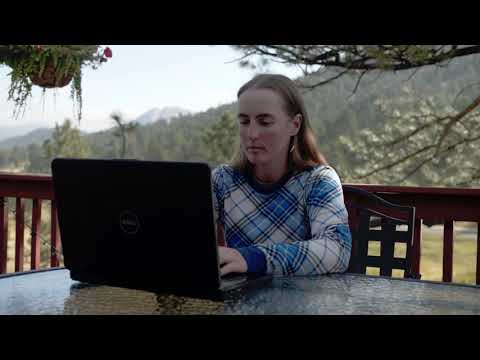
Watch our Installation video to learn more.
Step by step guide of the Trailblazer Broadband installation process
Standard Installations generally follow your existing power lines-either Overhead or Underground.
Exterior pre-installation occurs between the time you sign up for service and your scheduled interior installation.
Step 1. For Overhead Installation


Note: Drawings are not to scale.


Step 1. For Underground Installation

Note: Drawings are not to scale.

The fiber will be connected from the terminal to your residence by following your existing underground power feed. When underground trenching is needed, crews will utilize the least invasive trenching methods and will repair/restore the trenched areas.
Step 2. Inside Installation
You will need to be home for your interior installation.


Note: Drawings are not to scale.
Installers will work with you to determine the location the fiber will enter your home and where your equipment will be located.
Step 3. Equipment Placement & Connection
Our installers will help you decide the best placement of your equipment for optimal performance, which will likely be:

Note: Drawings are not to scale.

Upon completion, installers will ensure that your internet is working properly.
Step 4. Enjoy Trailblazer Broadband

Note: Drawings are not to scale.
Connecting
Our Community
When Will Service Be Available?
Trailblazer has been building its world-class fiber optic network since 2019. Service is now available to the majority of Estes Park and Glen Haven. The final phase of construction to Estes Park Power & Communications service areas is pending.
Fill out the interest form to receive broadband updates.
By registering, you will also be one of the first to receive notice of service when it is available in your area.